
How to Make a Sea Glass Picture in Five Easy Steps
/A simple DIY craft using sea glass to brighten up your home
Create your own sea glass artwork
It’s always nice to freshen up your home decor with a change of seasons. One way to do this is to update or swap out your artwork. Why not get a little crafty and create something with a personal touch. I’m sharing the five easy steps it takes to make your own art work using sea glass, or as some call it, beach glass.
If you want to save this post for later be sure to pin this!
how to make a sea Glass picture n 5 easy steps. #seaglassart #seaglasscsraft #seaglassartideas

An online publication sharing stories and experiences along with informative and inspiring lifestyle content. Check it out at www.inspirememagazine.ca
DIY sea glass art
I wrote about creating a crafty sea glass picture for East Coast Living Magazine. Now I’m going to follow the instructions to create my own sea glass wall hanging.
If you don’t have your own stash of sea glass you can hunt for it at the beach. If you ever needed an excuse to take a walk at the beach, now you have one. You’re welcome. You can also buy sea glass online or from craft supply stores.
Sea glass facts
White, green, and brown are the most common sea glass colours.
Blue, red, orange, and yellow pieces are harder to find.
Make sure your sea glass is cooked - sea glass speak for rounded without sharp edges.
It takes many years of tumbling in the ocean for sea glass to be smooth.
Sea glass art ideas
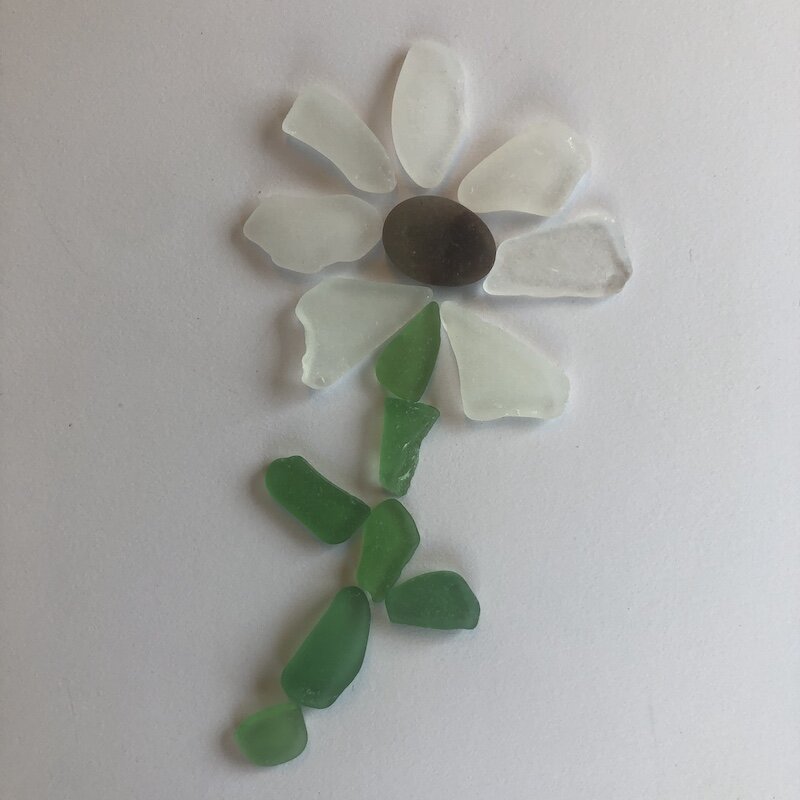
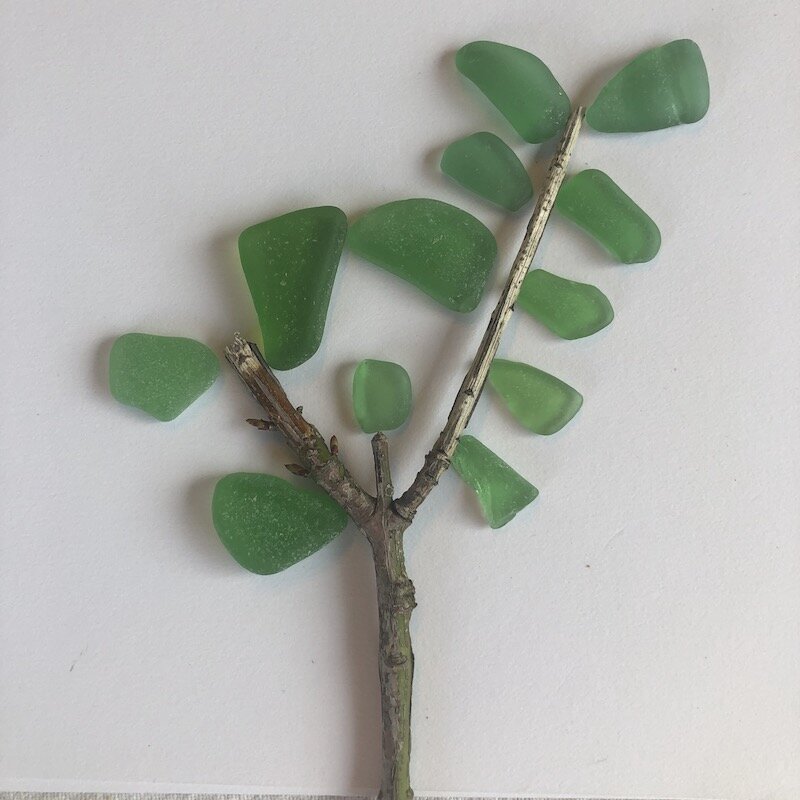
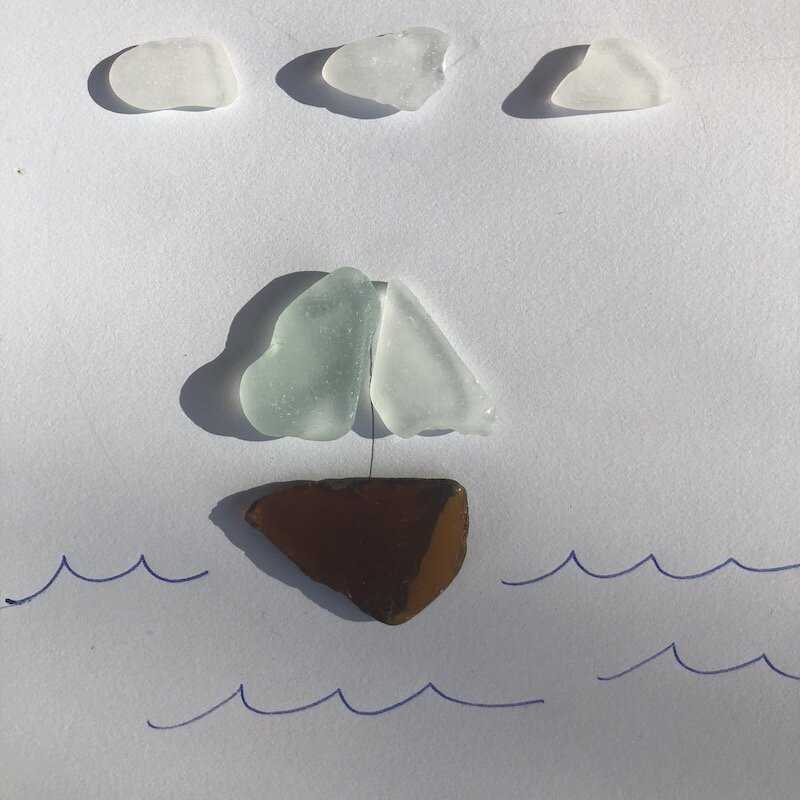
Think about the image you want to create with the sea glass. There are lots of ideas for designs you can create. Flowers (like daisies or lupins), hearts, a simple wreath, a tree, or even a sail boat are a few suggestions to get you started with your sea glass craft project.


How to make sea glass wall decor
Step 1: Gather your materials. You will need:
Sea glass
Picture frame
Card stock trimmed to fit your frame
Glue
Optional:
Matting will add a professional touch to your artwork
Marker or pen for additional markings
Pebbles, or small twigs if you want to add other natural elements to your artwork
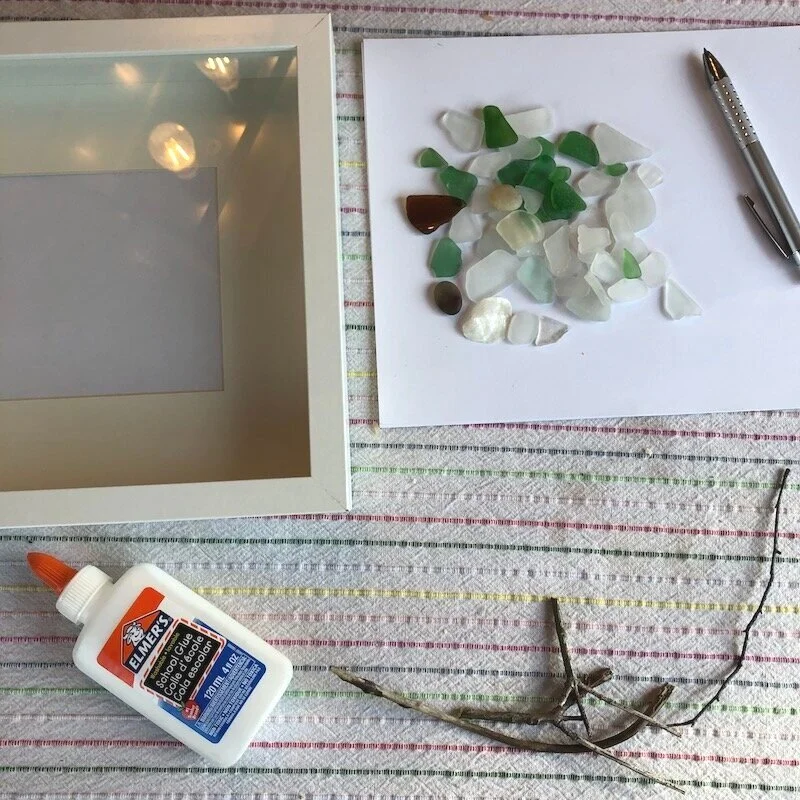
There are just a few materials you need to make a sea glass wall art hanging. #seaglass #seaglasscraft #Seaglassart
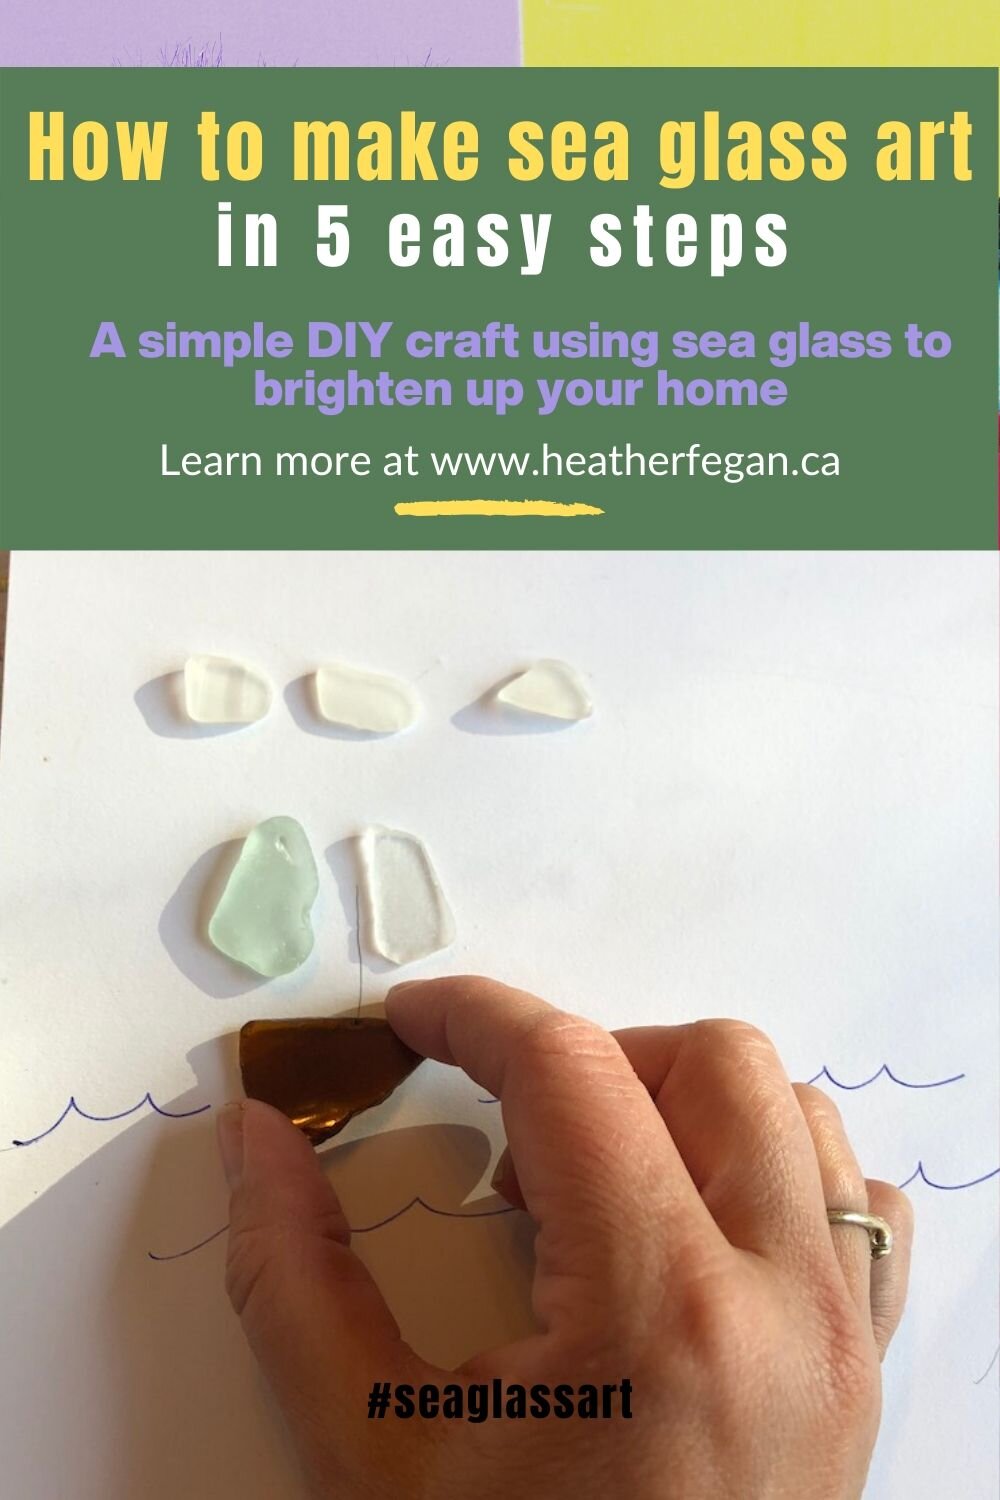
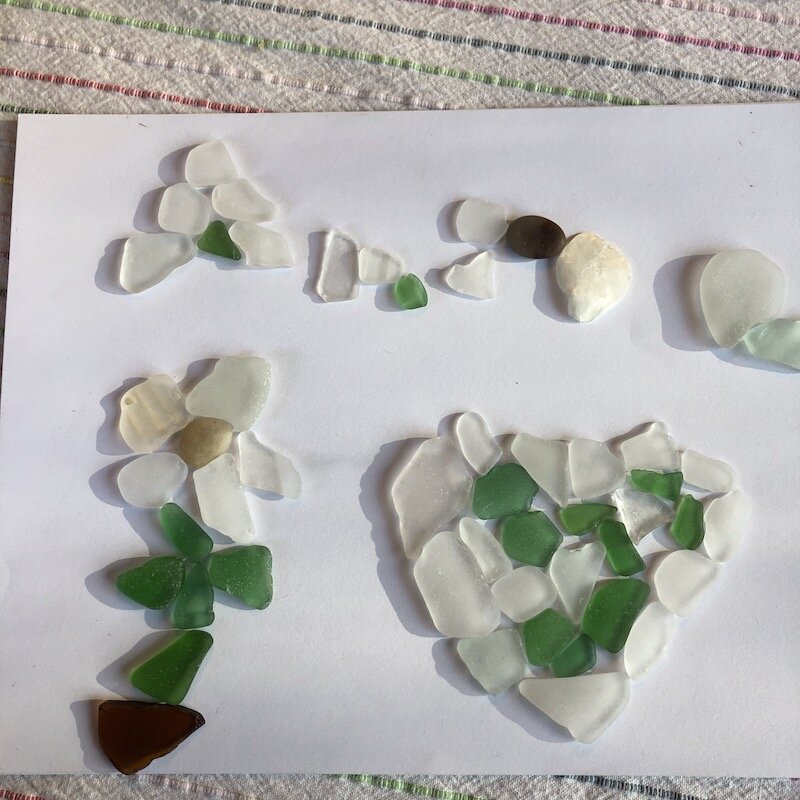
Step 2: Working with sea glass
Spread your sea glass out on a surface. Arrange the pieces in front of you. Play around with them to see what will work. This may spark the design you want to create. No two pieces of sea glass artwork will ever be the same. Every piece of beach glass is unique, in colour, in shape, and in size. Flower petals can be pointy or round, stems can be long or short. A heart can be a simple outline, or the heart can be filled in.

play around with your sea glass to spark ideas for the artwork you want to create with your beach glass. #seaglasspicture #DIYseaglassart #beachglass
Step 3: Arrange your sea glass
Arrange your selected sea glass into the design of your choice on the card stock. A You can centre your artwork, or it can rest at the bottom of the page. A flower can be tilted to look like it’s blowing in the wind. You can add in natural elements like a twig to make a tree. Use a fine-tipped marker or pen to add a line here and there to connect the petals of a lupin, or the sails on a boat. Keep it simple.

Arrange your sea glass into the picture you want to create. No two sea glass art projects will be the game. #seaglasscraftproject #seaglasswallhanging #seaglassartidea
Step 4: Attach the sea glass to paper
The best glue for sea glass is a wood glue. You want something strong that will not soak through the card stock. A dab of glue on the back of each piece of sea glass is enough. Glue each piece on to the card stock. Let it dry for a few hours before lifting the card stock. Don’t forget to sign your name - a key step in the art-making process to signify that the artwork is finished and the artist - you!- is satisfied.

The best glue for sea glass art is wood glue. #seaglassproject #seaglasscraftidea #seaglasspicture
Step 5: Display your sea glass art in a frame
Pop your new artwork into a frame. You’ll need a frame that’s deep enough to showcase your sea glass. Matting lends a professional touch. A weathered, wooden frame adds to the natural beach vibe of the sea glass. A sleek frame with classic straight lines, like this Ikea Ribba frame that I used looks great too.
Proudly display your new sea glass artwork and enjoy!
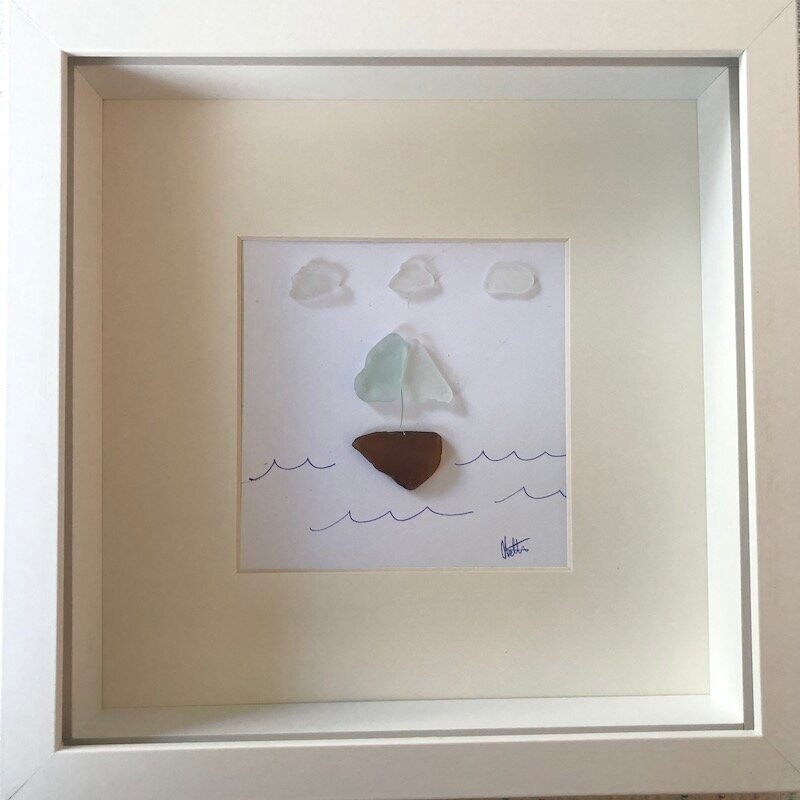
Proudly display your DIY sea glass artwork in your home. #seaglassdecor #seaglasswallhanging #beachglasscraft

Make a sea glass picture for your home in five easy steps . #seaglassdecor #seaglasswallhanging #beachglasscraft #seaglassart
BONUS: Sea glass craft for kids!
If you’re feeling generous with your sea glass or your kids have found their beach glass, they can have fun creating sea glass crafts too. I left Anna, age six, to her own devices and she created a few design masterpieces of her own.
Sea Glass crafts are a great activity for kids too. #kidart #seaglasscraft #seaglasspicture #kidsactivities
You can set out some googly eyes and prompt them to make this really cute sea glass fish!
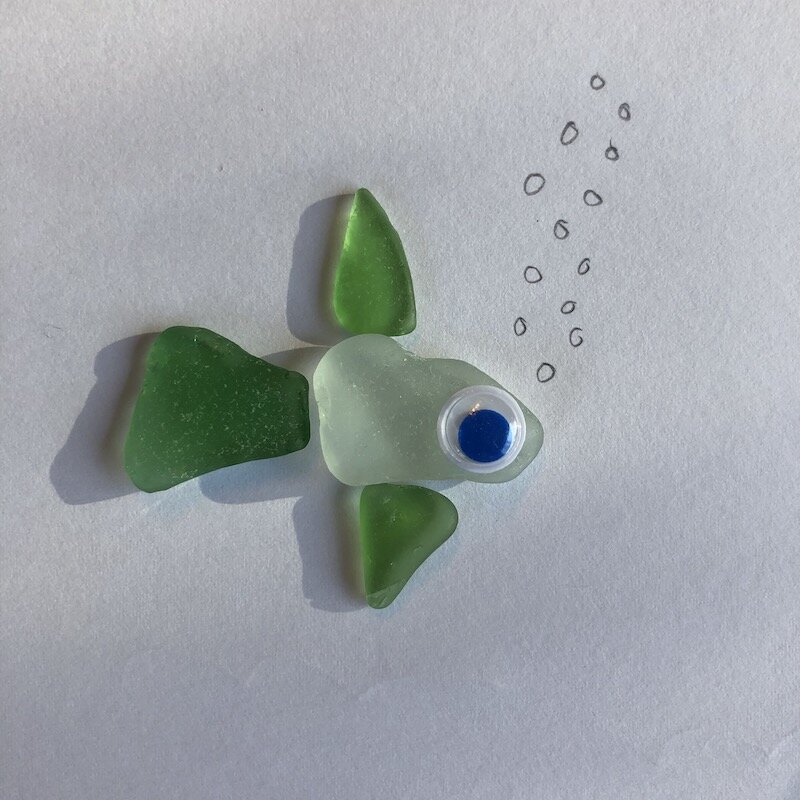
A sea glass fish is an easy-to-make craft activity for kids. #kidsactivities #kidcrafts #seaglassproject
Follow me on Instagram @theheatherchronicles


More from The Heather Chronicles


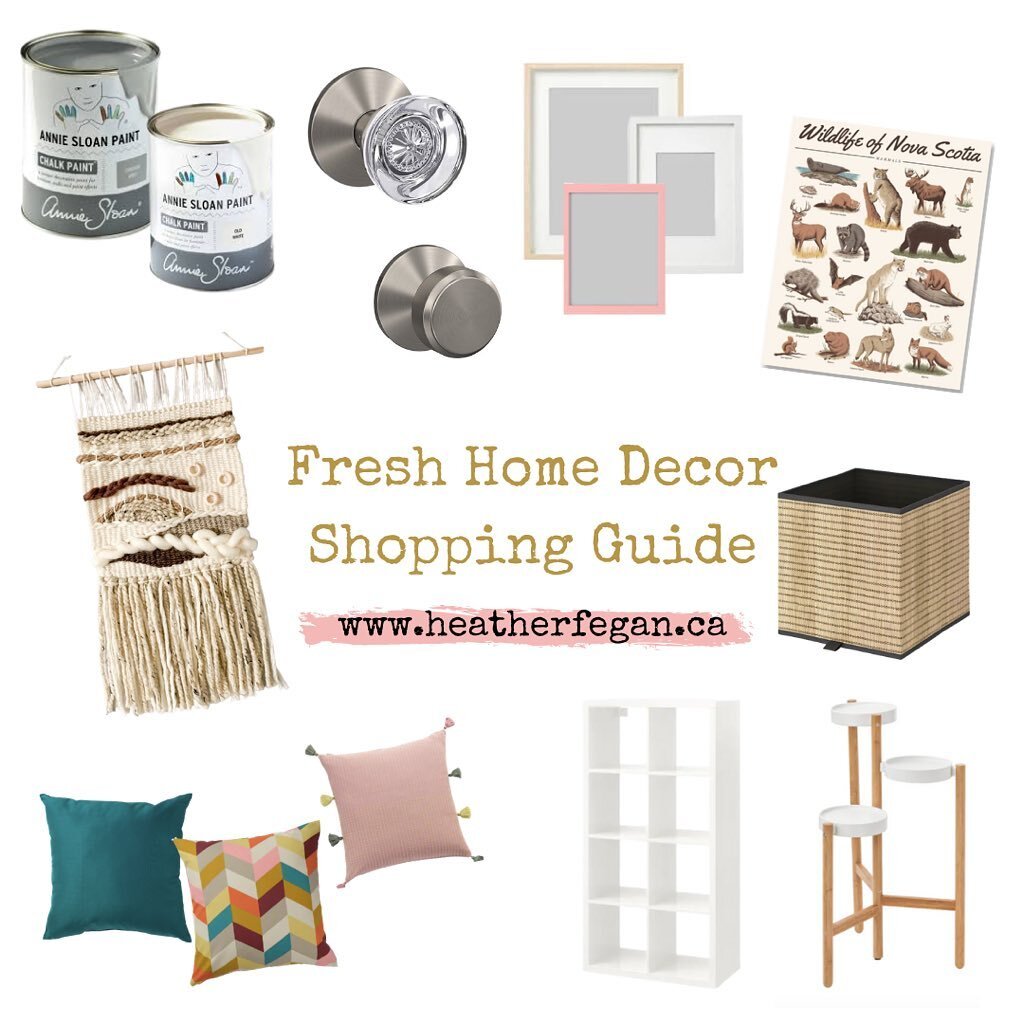
Top 10 must-have home decor pieces to freshen up your space